Flexy Consent User Manual
1. First Login and Initial Setup
Upon logging into a newly created account, you will be greeted by the “New Website” window. Here, you can:
Enter the domain where you intend to use Flexy Consent. Please note that Flexy Consent will only function on the specified whitelisted domains.
Provide the URL for your cookie and privacy policies. It is strongly recommended to input these URLs; otherwise, the corresponding links in the consent message will remain inactive.
Choose a subscription plan for your website.
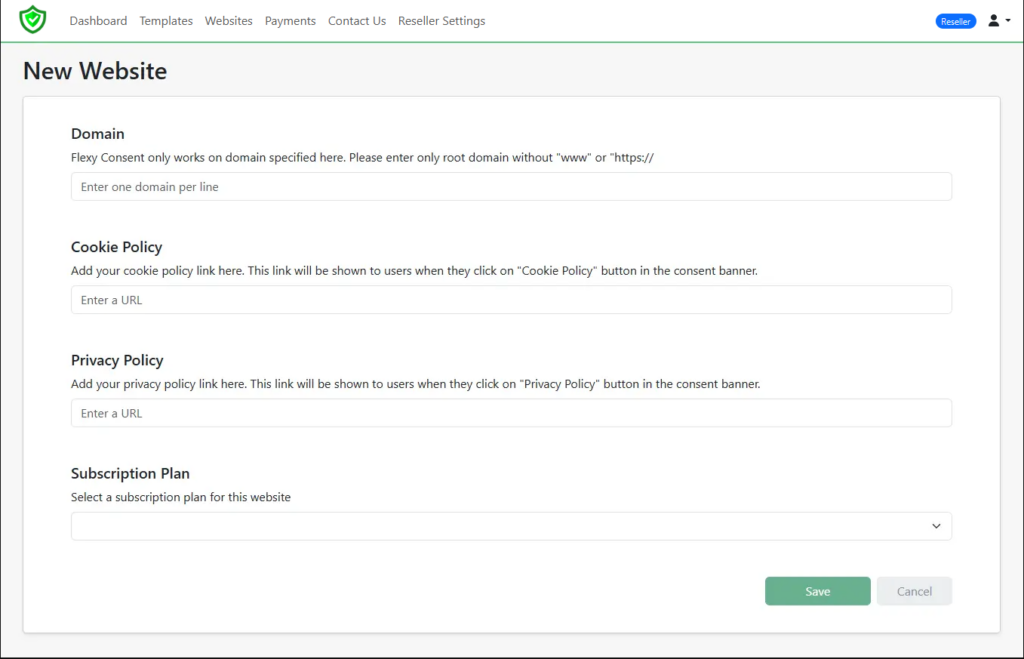
After configuring your website and clicking “Save”, you will be directed to the “New Template” window.
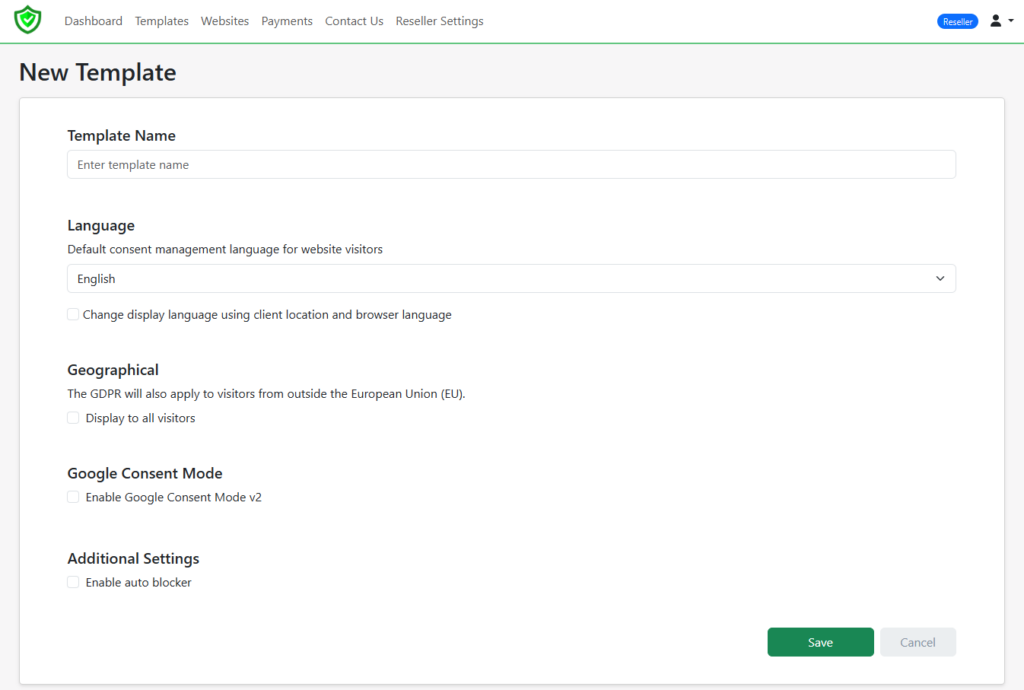
Templates define the settings for the consent message displayed to your website visitors. A single template can be used across multiple websites. Here you can:
Assign a distinctive name for your template.
Choose a display language for the consent message from the available menu. Alternatively, you may check the option “Change display language using client location and browser language” to automatically adjust the message according to the visitor’s location and browser settings.
By default, the consent message may or may not be displayed based on the visitor’s geolocation. To enforce global display, regardless of location, check “Display to all visitors” option.
Enable “Google Consent Mode v2” to access additional options. For more details about these settings, hover over the “!” icon.
Enabling the “Auto Blocker” will prevent third-party scripts, such as analytics and social media tracking codes, from running on the site until the user provides consent.
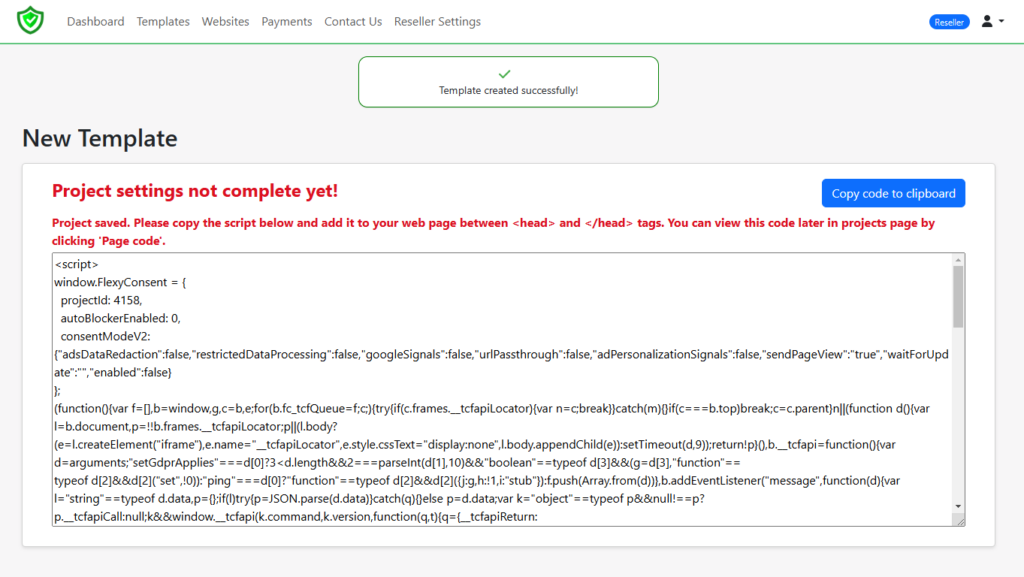
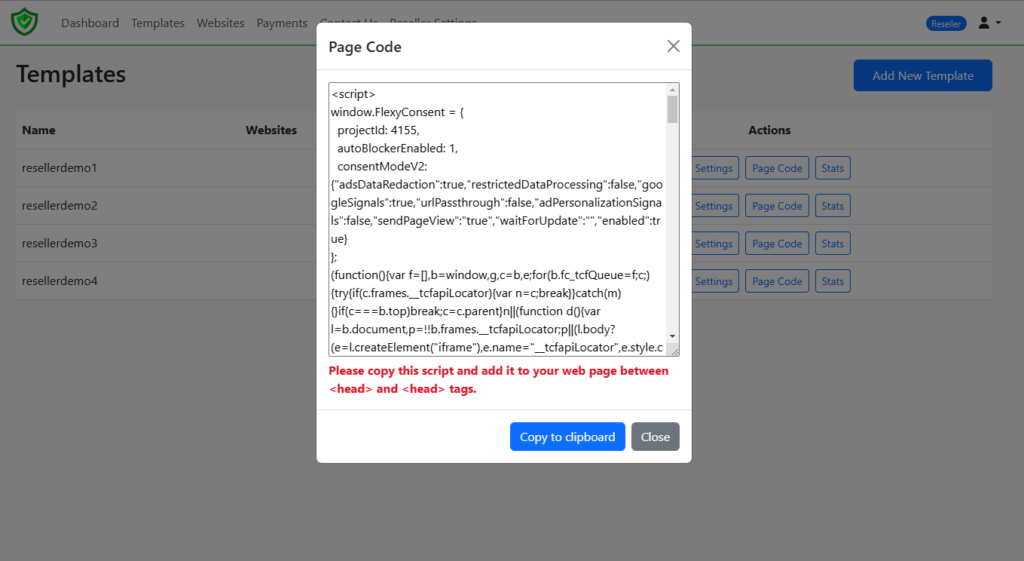
After configuring your template settings, you will receive a JavaScript code. This code must be added between the <head> and </head> tags on your webpage. Please note that the consent message will not be displayed until the code is live on your page. You can access this code later on the Templates page by clicking “Page code”.
By default, the Flexy Consent logo appears in the bottom left corner of the page, serving as a resurface button for the consent message, which is required for compliance. If you prefer to hide the logo and use a native-looking link or button instead, you can do so by adding a clickable element anywhere on your page and assigning it the class “btn-fc-adjust-pref“. This element will trigger the consent message when clicked.
Here’s an example of how to add a link in the footer of your page:
<a href=”#” class=”btn-fc-adjust-pref”>Manage privacy settings</a>
Note: This is an advanced feature designed for users familiar with HTML5. If you are not sure how to do it please ask for help otherwise you might break the appearance of your website.
If you require assistance with the integration please refer to our individual integration guides or contact us we will be happy to assist you.
- You are now ready to explore other features.
- 2. Reporting
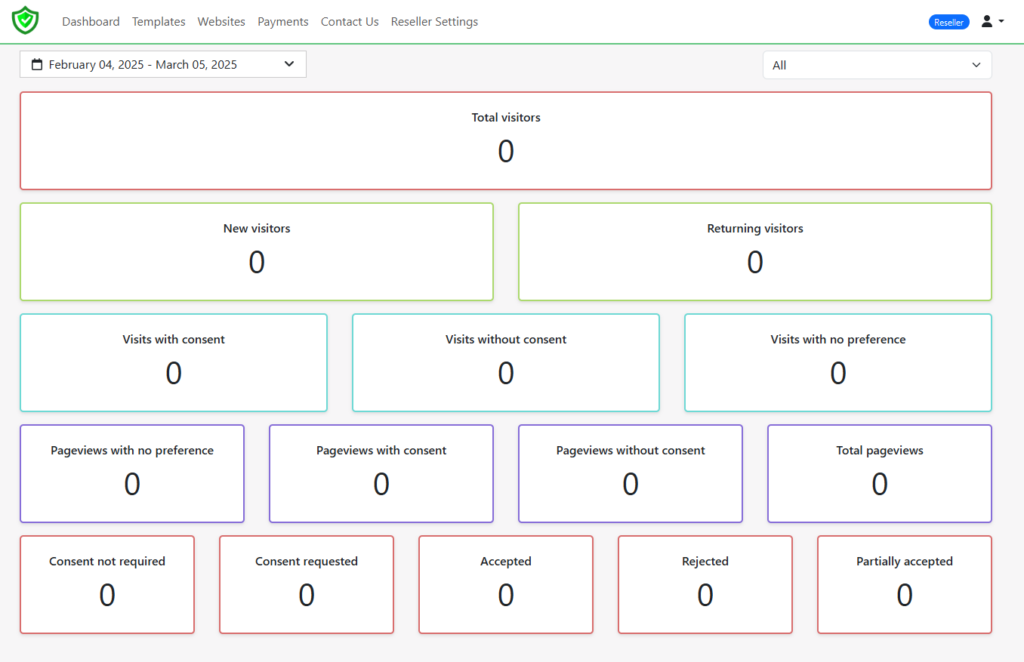
Navigate to the Dashboard, which is the default page on login after the initial setup. Here, you can view detailed reports and analyze the consent rate of your visitors. The top-left corner allows you to specify a time range, and the top-right corner provides filters to view individual template performances.
3. Templates
Visit the Templates page to check the status of your templates, including whether they are enabled or disabled and which domains they are assigned to. Additionally, you can:
Create new templates by clicking the “Add New Template” button.
Modify the settings of existing templates by clicking the “Settings” button.
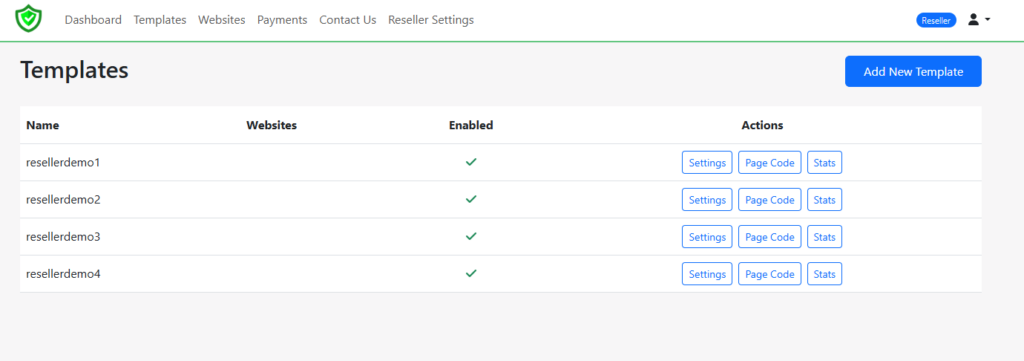
Retrieve the JavaScript code that needs to be added between the </head> and </head> tags of your webpage by clicking “Page code”.
Redirect to the Dashboard and view filtered reports for a specific template by clicking “Stats”.
4. Websites
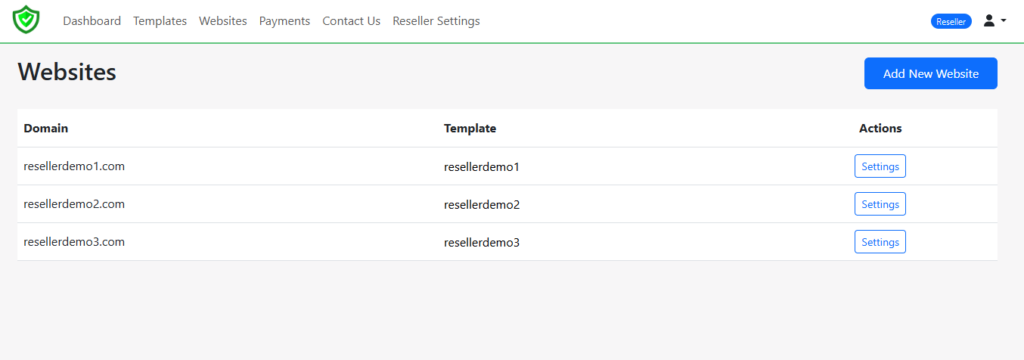
On the Websites page, you can:
Add a new website by clicking “Add New Website” button.
Check the status of your websites, including which template is applied and the selected subscription plan.
Go to the template settings by clicking on the template names.
Please note that selecting a subscription plan during website creation only unlocks premium settings on the template settings window. To activate these features, you must purchase the plan on the Subscriptions page.
5. Payments
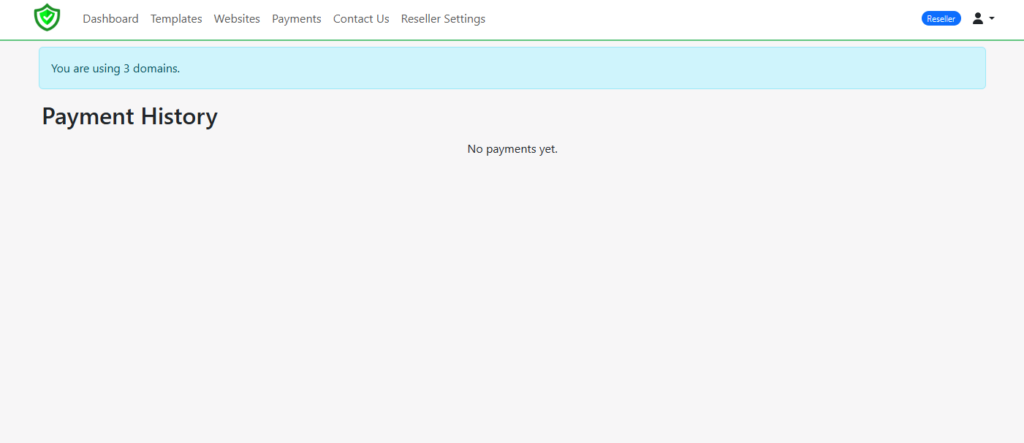
On the Payments page, you can:
Review your .awaiting payments. Your payments will be calculated monthly depending on the websites you add.
- Access your payment history and download invoices.
6. Support
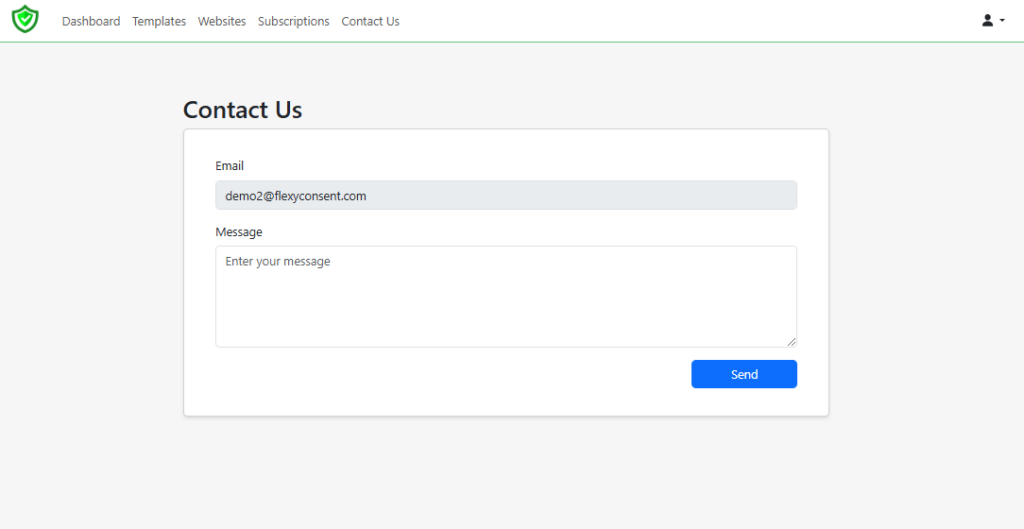
Should you encounter any issues, you can contact us directly through the dashboard by navigating to the Contact Us page. Simply enter your message and click “Send”.
7. Reseller Settings
Reseller Settings page consists of two parts.White Label settings and Users. If you are planning to offer Flexy Consent as a White Label solution you can:
Paste an external CSS URL to change the appearance of the dashboard.
Paste an external Logo URL to change the default Flexy Consent Logo on top left.
- Customize the dashboard URL by creating a CNAME record on your domain’s dns settings e.g. consent.yourdomain.com
Customize the page title that displays on the chrome tab.
Paste an external Banner CSS URL to change the appearance of the consent message.
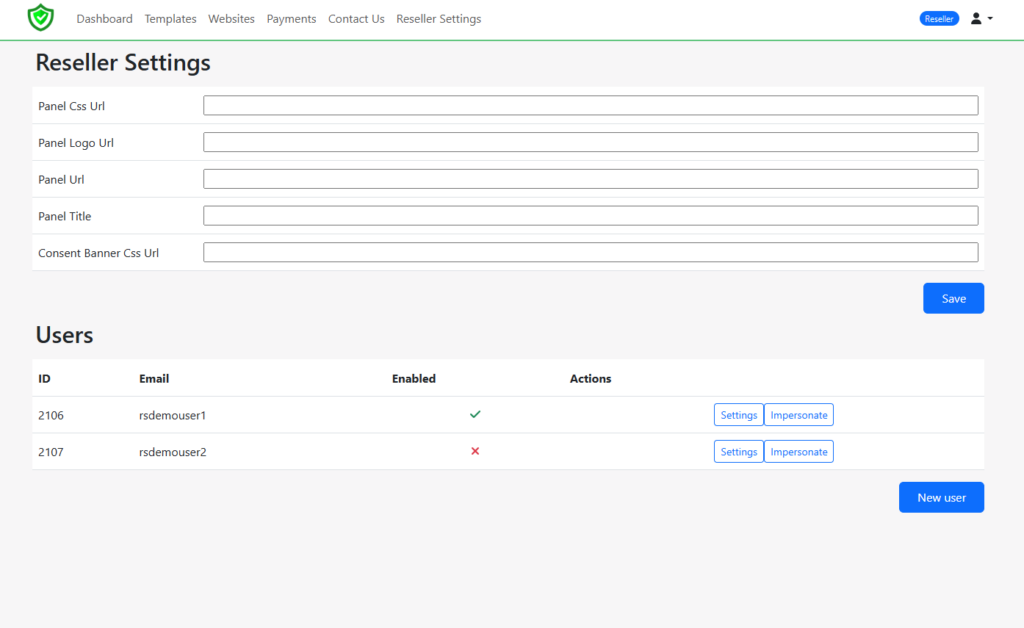
At the bottom of the page you can see the User settings for your clients. Here you can:.
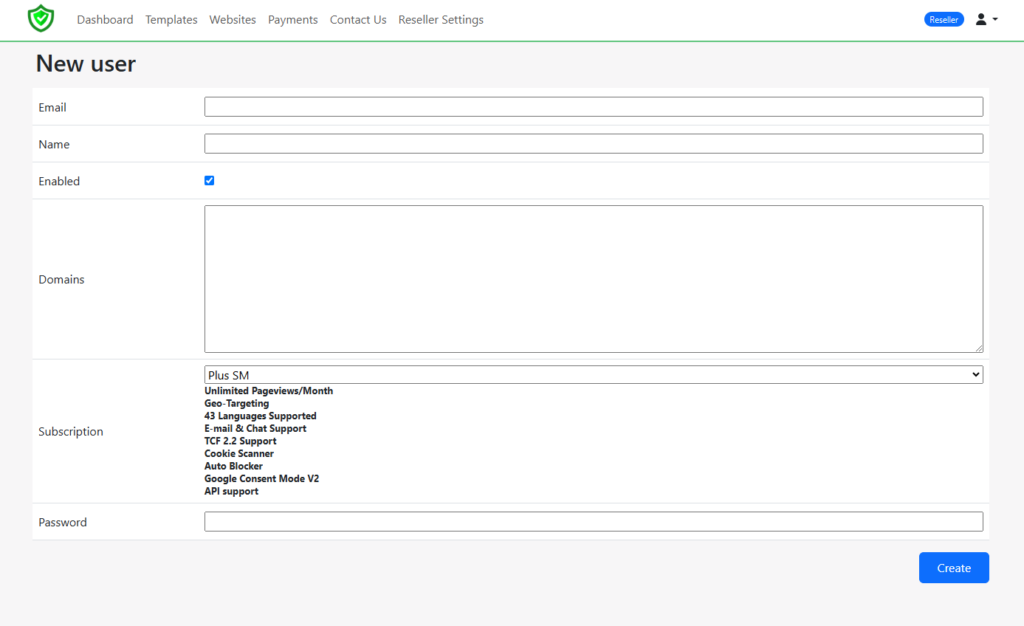
- Add a new user by clicking New user button which will open the New user window. You can click create to add a new user after filling the required information and selecting a subscription plan for the user.
- Change the settings of a user or disable their account.
- Go to a a user dashboard by clicking “Impersonate” and see the dasboard from their point of view.
- The users you add here will have a limited dashboard where they can only check the reports and change templates. They cannot add new websites or change subscription plans.
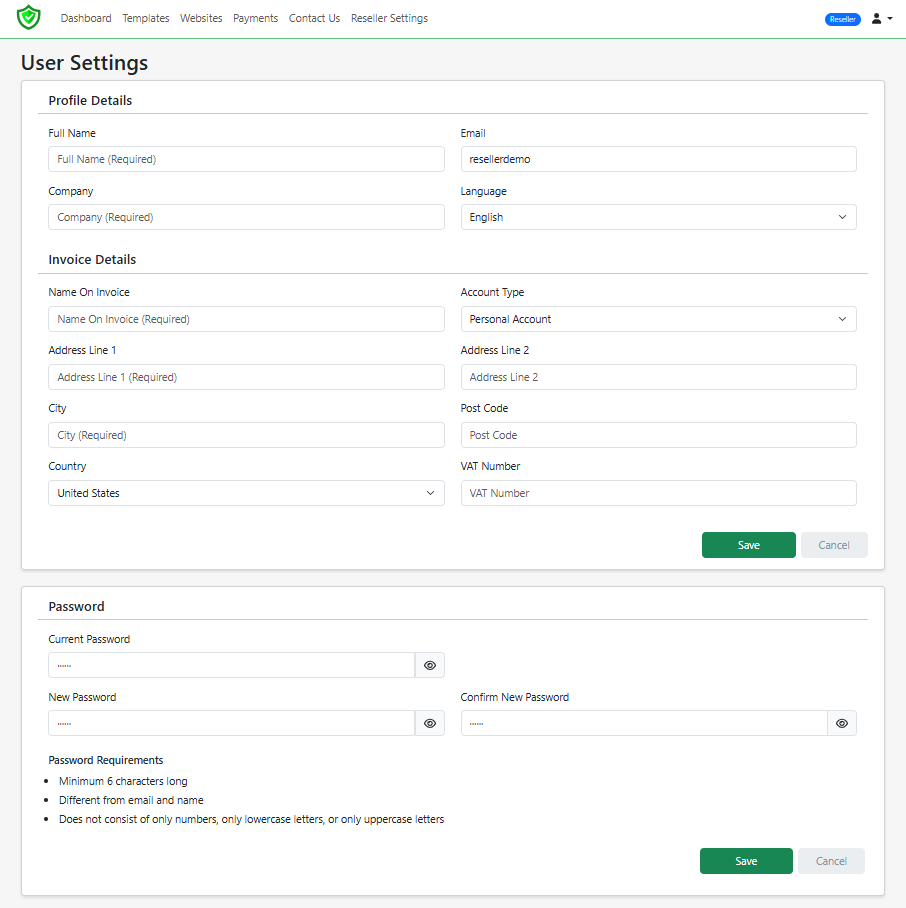
8. User Settings
To access your account settings, click on your name in the top-right corner and click “User Settings.”
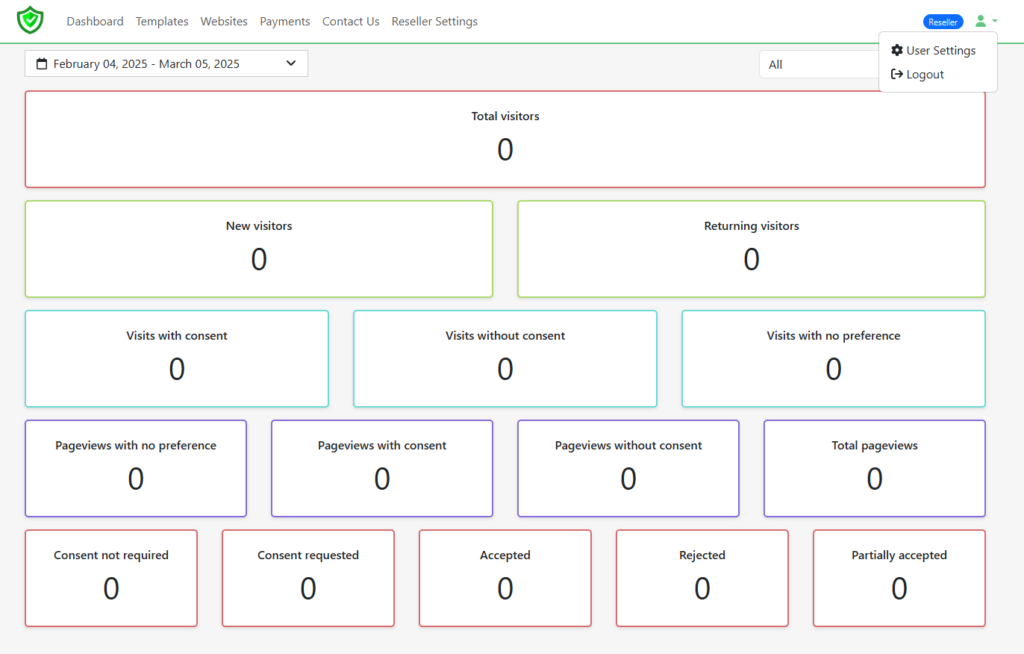
Here, you can update your account information, which is necessary for invoicing. You also have the option to reset your password at the bottom of the page.
Contact
+44 20 3807 0604
support@flexyconsent.com


